


Our guest today is April from Cup of Delight and you're sure to find her and her blog as delightful as the name implies! She's got the cutest little gift you could make for just about any occasion today - just what we need!
***
Hello friends! My name is April and I blog about the things I love at Cup of Delight, mostly about crafts and other creative things.

I am passionate about handmade gifts, so I am very excited to be Kimberly's guest for the Gift It series today! I love sharing ideas for easy-to-make and inexpensive handmade gifts. Just because it is inexpensive does not mean it is cheap-especially if it is handmade. Handmade gifts tend to be less expensive AND they are extra-special because they are a piece of the giver's heart.
Photo frames are always a great gift for anyone. Here is an inexpensive and EASY way to make a gift suited just for the person receiving it-the "Chalkboard" Photo Frame.

(with Chalk marker)
There are so many variations you can put on this gift to make it your own-I included a list of ideas at the bottom of the tutorial.
Here's what you'll need:
- Wood Photo Frame (found at any craft store)
- Acrylic paint in desired color
- This miracle product:
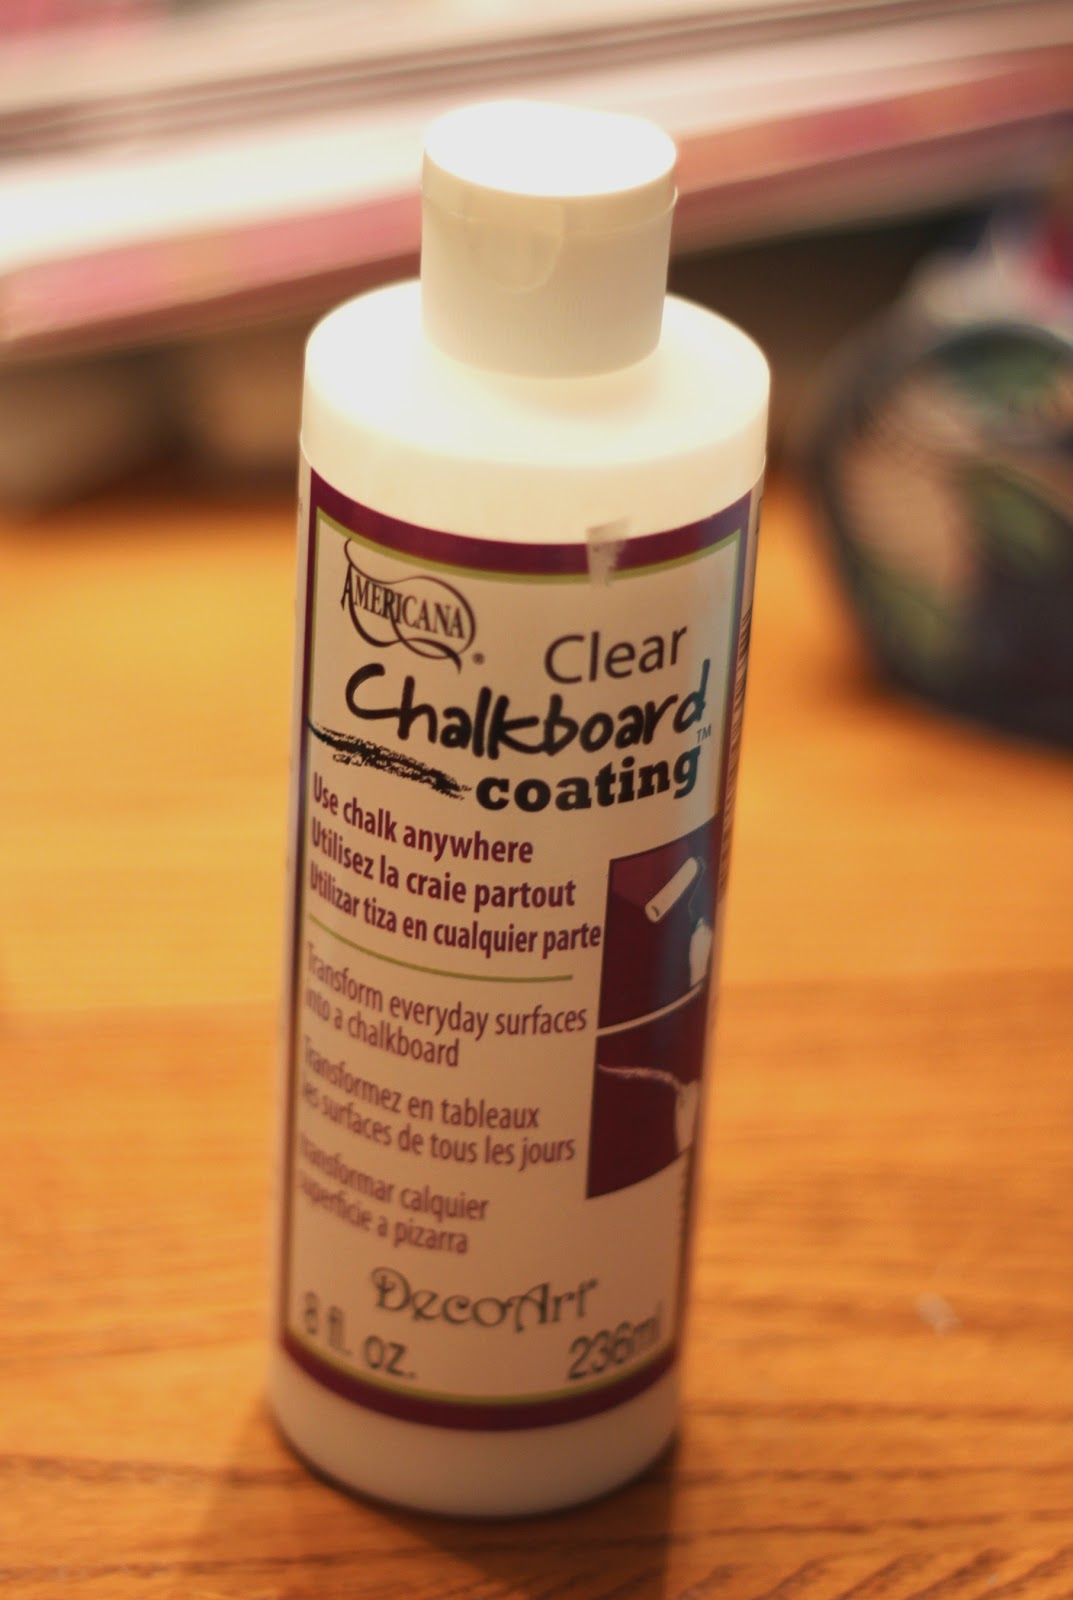
Americana Chalkboard Coating.
It makes ANY water-based paint into chalk paint and it works really well. I found mine at Hobby Lobby, but you can also buy it here and on Amazon.
- Embellishments you may want to add. If you want to make rosettes like the ones I made, you will need three strips of fabric about a foot long.
How To Make:
1. Simply paint the frame in your desired color and amount of coats and let it dry. Coat with Chalkboard coating. You will need two coats to make it work properly-one painted vertically and one painted horizontally. Let it dry one hour between coats and then 24 hours before you use chalk on the surface.
It's. That. Simple.
2. Add embellishments! I am partial to fabric flowers and rosettes are pretty easy to make.
How To Make Fabric Rosettes:
1. Tie knot on one end of fabric/ribbon.

2. Roll shorter loose end around knot. Roll longer end over loose end a few times to secure it. You should have a small round ball on one end.

3. Wrap rest of the fabric into a flower by loosely twisting and wrapping the long piece around the ball simultaneously. Keep wrapping and twisting in same direction for the whole flower.

4. Glue end piece down with hot glue.

5. To make beaded center, thread one bead on needle and thread and sew down through back of flower. Repeat with two other beads.

6. Secure thread on back with a sewing knot. This s what your flower should look like:

More Chalkboard Photo Frame Ideas:
- Give one as a baby gift or grandparent gift, so they can mark the changing age of baby.

OR write baby's name, birth date and weight.
- Include colored chalk, so giftee can doodle on frame as he/she likes (Kids and Tweens will love this!)
- For a teacher gift, paint the frame black, like a blackboard, and write the year and teacher's name. (Wait...do they still use blackboards in school these days??)
- Make it your own by doodling your own designs in chalk for the giftee.
- Present it by writing a greeting on the frame for the occasion.
- Make it a photo frame/message board-you can find wooden frames that have a space for a picture and large blank space for the message section.
Thanks again, Kimberly for having me! I am enjoying this series and am excited to see the rest of the projects too.
I have to say, I totally agree that this would be a fabulous gift for a tween or teen! And that's probably the hardest age to make for! Fabulous idea for pretty much any skill level, so thanks April!

*Be sure to check the right sidebar for all the fun parties I link to!


1 comment:
YAY! I love this paint...I have so many plans for it! SUPER CUTE TUTE!
Post a Comment